 Quick start
This guide will show you how to initialize CKEditor 5 rich-text editor from source.
# How to install the framework?
We are currently working on the package generator. It automates the steps described in this guide, and you can test it already. Remember to share your feedback with us.
Use the following command to create a new package:
More info about this tool can be found in the dedicated guide.
The CKEditor 5 Framework consist of several npm packages. To install it you need:
- Node.js 14.0.0+
- npm 5.7.1+ (note: some npm 5+ versions were known to cause problems, especially with deduplicating packages; upgrade npm when in doubt)
Besides Node.js and npm you also need webpack@5 with a few additional packages to use the framework. They are needed to bundle the source code. Read more about building CKEditor 5 in the Integrating from source guide.
# Let’s start!
This guide assumes that you are familiar with npm and your project uses npm already. If not, see the npm documentation or call npm init in an empty directory and keep your fingers crossed.
First, install packages needed to build CKEditor 5:
The minimal webpack configuration needed to enable building CKEditor 5 is:
# Creating an editor
You can now install some of the CKEditor 5 Framework packages which will allow you to initialize a simple rich-text editor. Keep in mind however, that all packages (excluding @ckeditor/ckeditor5-dev-*) must have the same version as the base editor package.
You can start with the classic editor with a small set of features.
Based on these packages you can create a simple application.
This guide is using the ES6 modules syntax. If you are not familiar with it, check out this article.
Note that in this guide the editor class is used directly (i.e. we use @ckeditor/ckeditor5-editor-classic instead of @ckeditor/ckeditor5-build-classic).
No editor builds are used because adding new plugins to them requires rebuilding them anyway. This can be done by customizing a build or by including the CKEditor 5 source into your application (like in this guide).
You can now run webpack to build the application. To do that, call the webpack executable:
You can also install webpack-cli globally (using npm install -g) and run it via a globally available webpack.
Alternatively, you can add it as an npm script:
And use it with:
npm adds ./node_modules/.bin/ to the PATH automatically, so in this case you do not need to install webpack-cli globally.
Use webpack --mode production if you want to build a minified and optimized application. See more in the webpack documentation.
Note: Prior to version 1.2.7, uglifyjs-webpack-plugin (the default minifier used by webpack) had a bug which caused webpack to crash with the following error: TypeError: Assignment to constant variable.. If you experienced this error, make sure that your node_modules contains an up-to-date version of this package (and that webpack uses this version).
Note: CKEditor 5 Builds use Terser instead of uglifyjs-webpack-plugin because the later one seems to be unsupported anymore.
If everything worked correctly, you should see:
# Running the editor
Finally, it is time to create an HTML page:
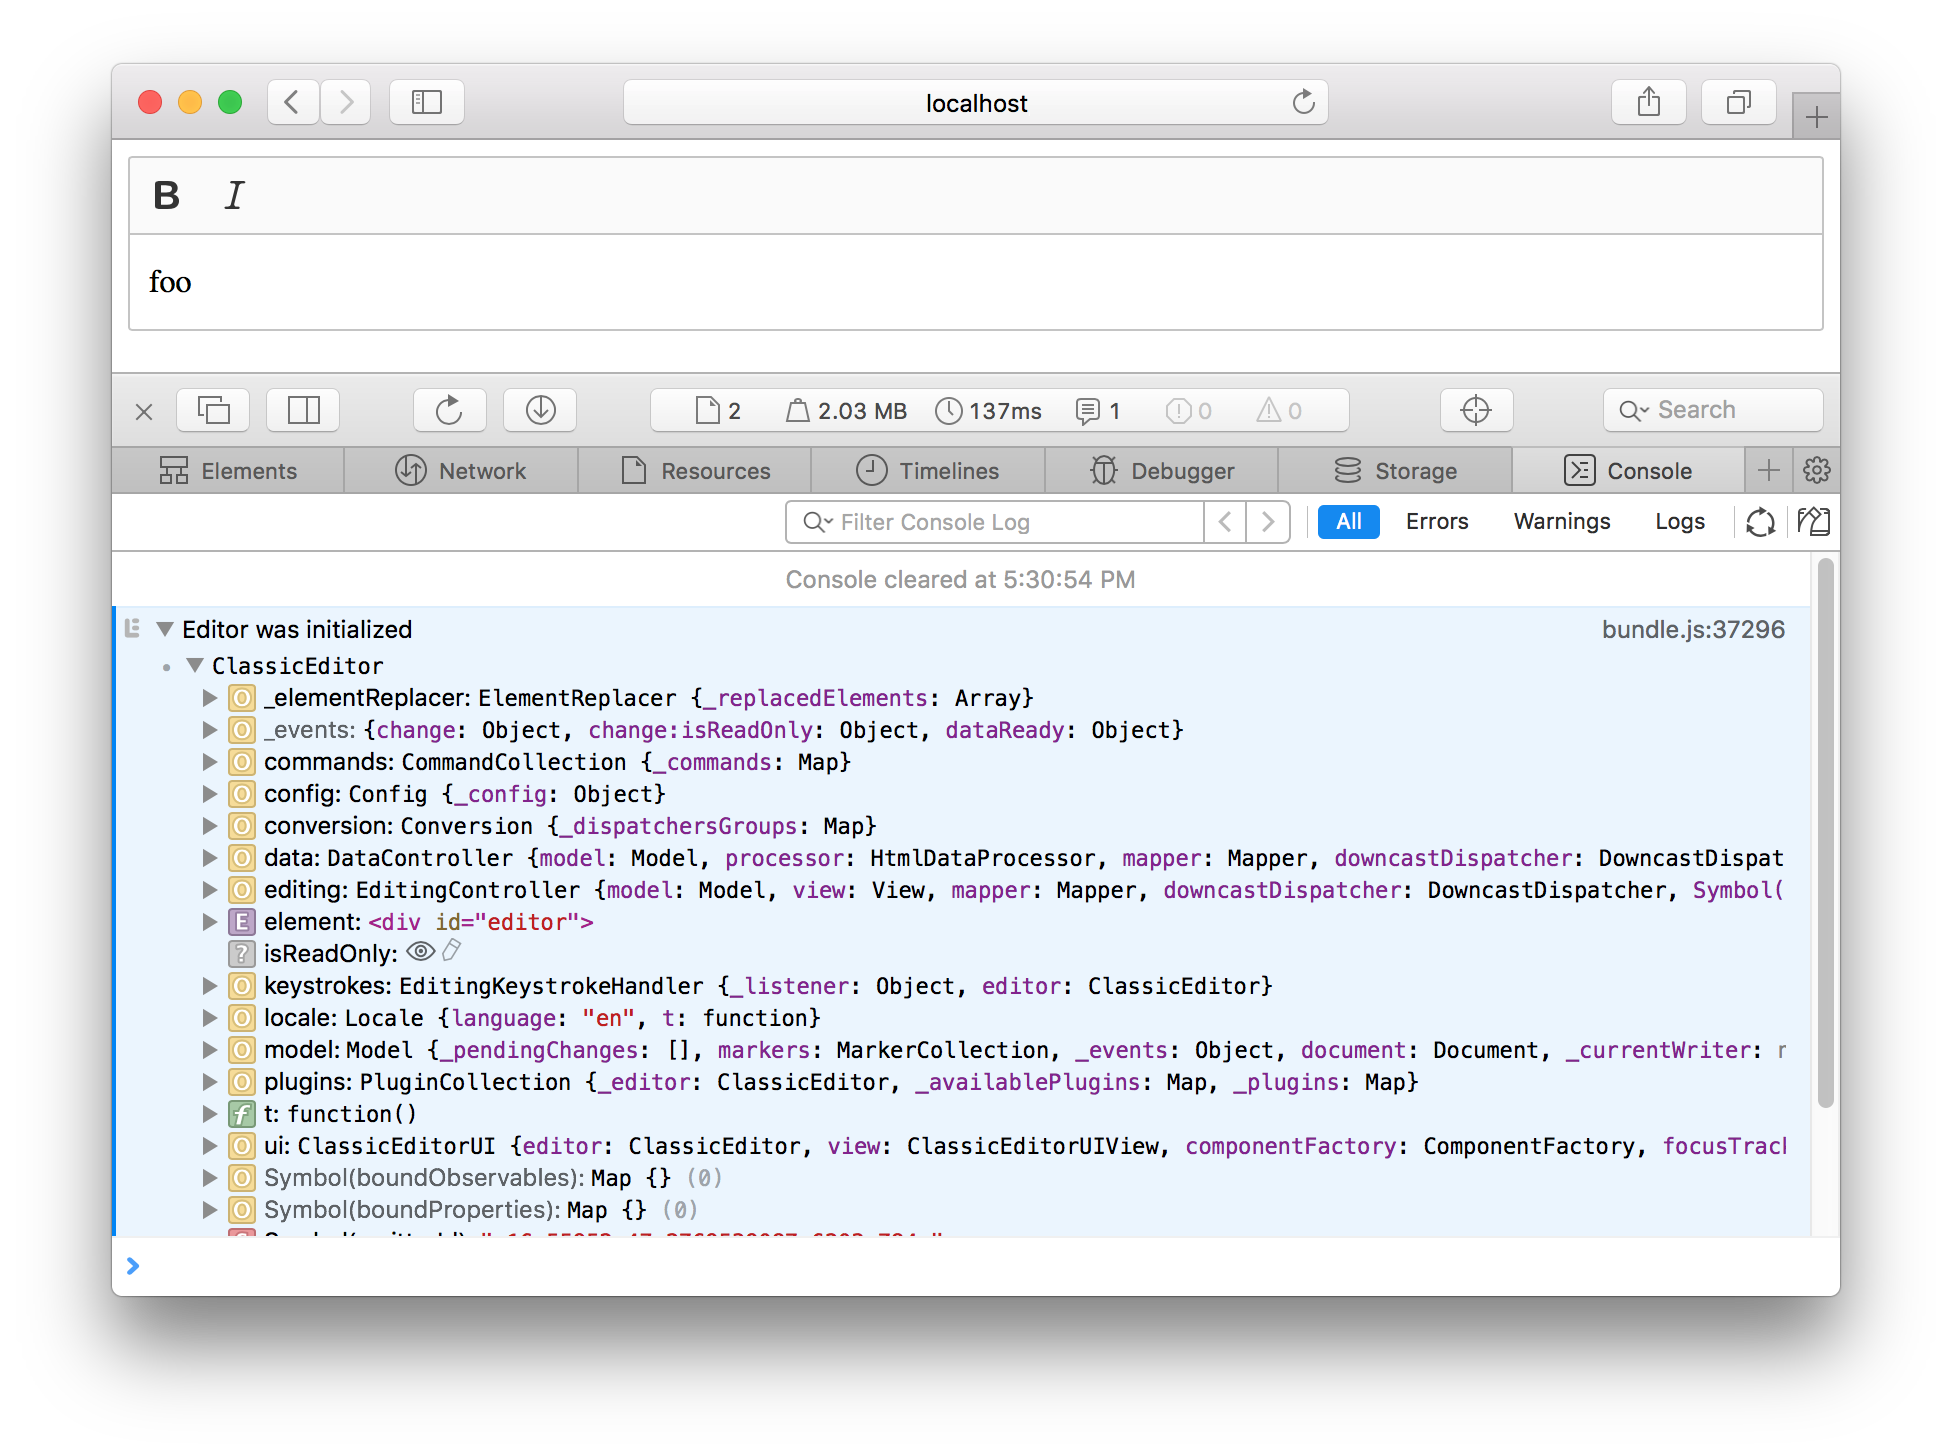
Open this page in your browser and you should see the simple WYSIWYG editor up and running. Make sure to check the browser console in case anything seems wrong.

We recommend using the official CKEditor 5 inspector for development and debugging. It will give you tons of useful information about the state of the editor such as internal data structures, selection, commands, and many more.
# What’s next?
If you finished this guide, you should definitely check out the Creating a simple plugin guide that will teach you some basics of developing features in the CKEditor 5 ecosystem.
If you are more into reading about the CKEditor 5 architecture, check out the Introduction to CKEditor 5 architecture.
Every day, we work hard to keep our documentation complete. Have you spotted an outdated information? Is something missing? Please report it via our issue tracker.

